Quick Start Guide
Get up and running with EW-FLOW in minutes create a Workspace, build a Process, and deploy your first workflow.
EW-FLOW is a visual workflow platform that lets you design, deploy, and manage automated conversational workflows. You build workflows using a BPMN editor, extend them with installable Modules, and deploy them to Environments that connect to external channels such as chat widgets, phone lines, and Slack.
Create a Workspace
A Workspace is the top-level container that holds all of your Processes, Environments, Sessions, and collaboration settings.
- Click Select a workspace in the top-left corner of the platform.
- Enter a name for your Workspace and confirm.
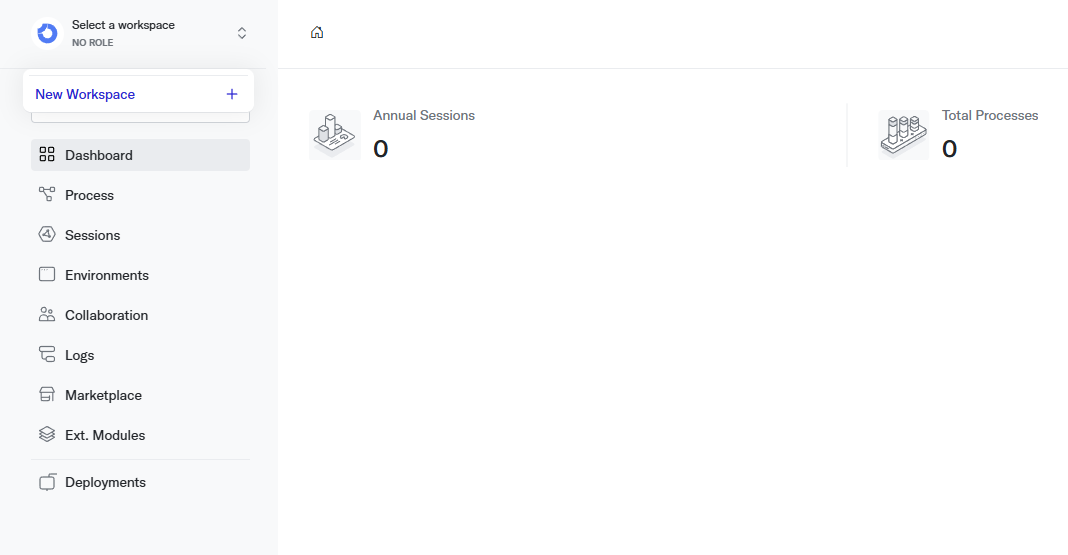
When you create a Workspace, a default Process and a default Environment are generated automatically so you can start experimenting right away.
Create a Process
A Process is a workflow project. Every workflow you build in EW-FLOW lives inside a Process.
- Navigate to Process from the sidebar.
- Click Add Process in the top-right corner.
- Enter a name, an optional description, and choose a template.
- Select an Environment to deploy the Process into.
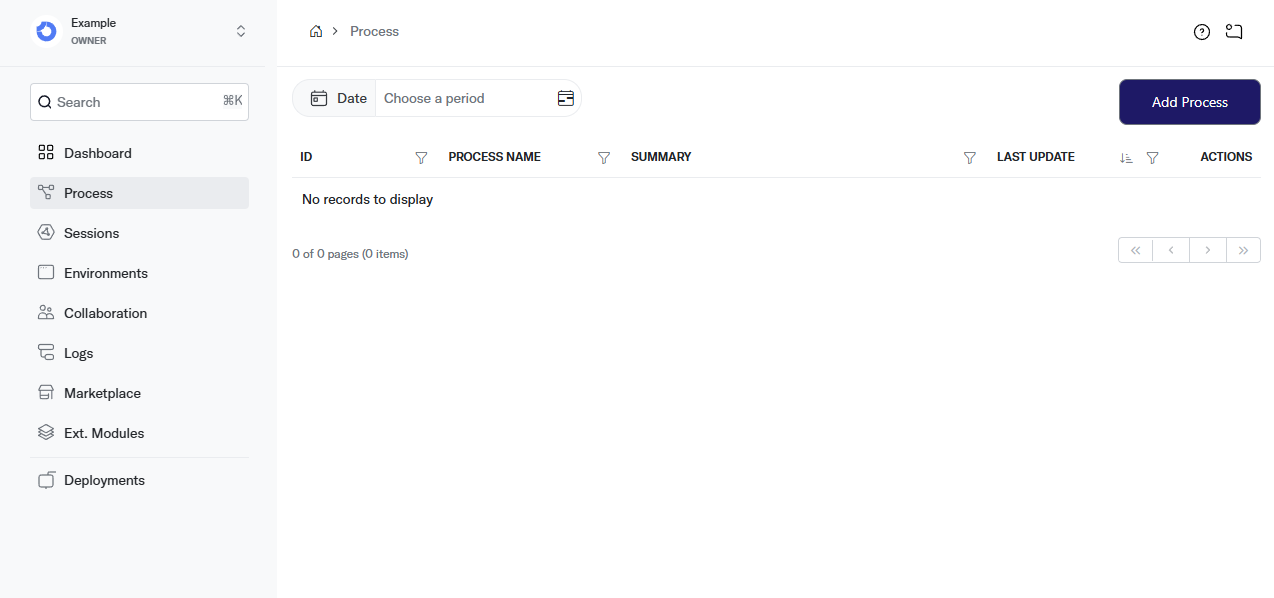
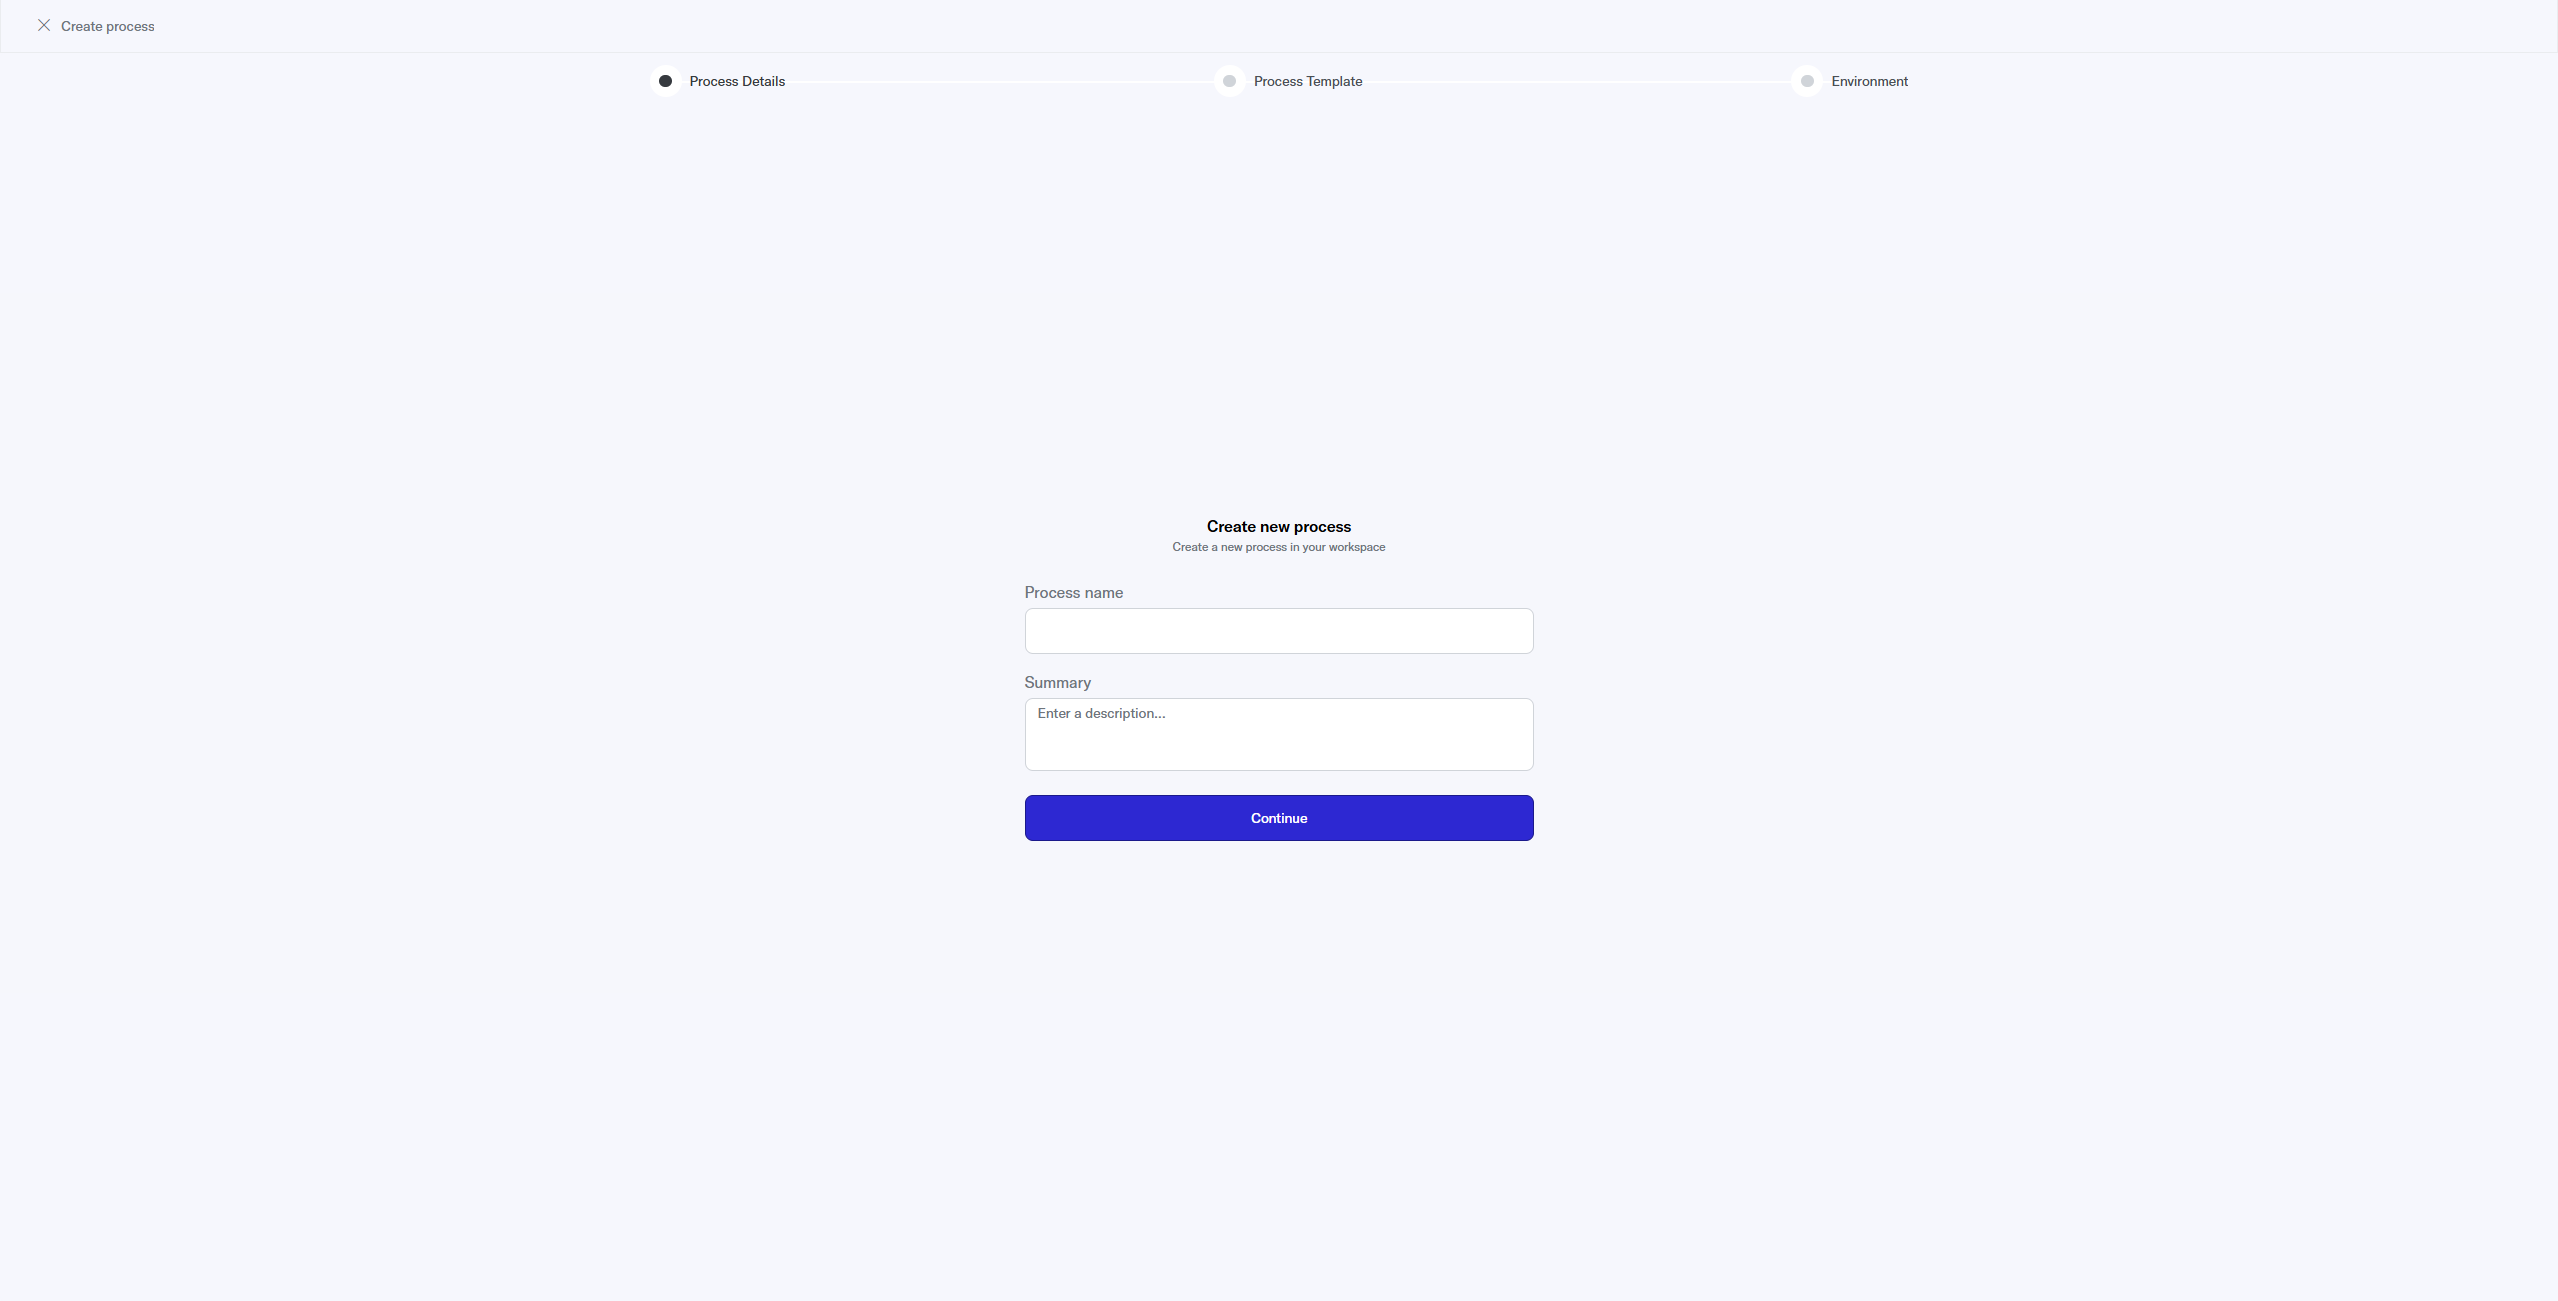
Only the Process Name and Environment are required everything else is optional.
The number of Processes you can create depends on your Service Plan. See the Pricing page for details.
After creation, a dialog asks whether you want to configure the Environment now or go straight to the BPMN editor.
Install Modules
Modules are installable packages from the Marketplace that add Tasks to your Process from chat I/O to AI inference to telephony.
- Open the Marketplace from the sidebar.
- Click Add on the Module you need.
- Select the Process to install it into and click Install.
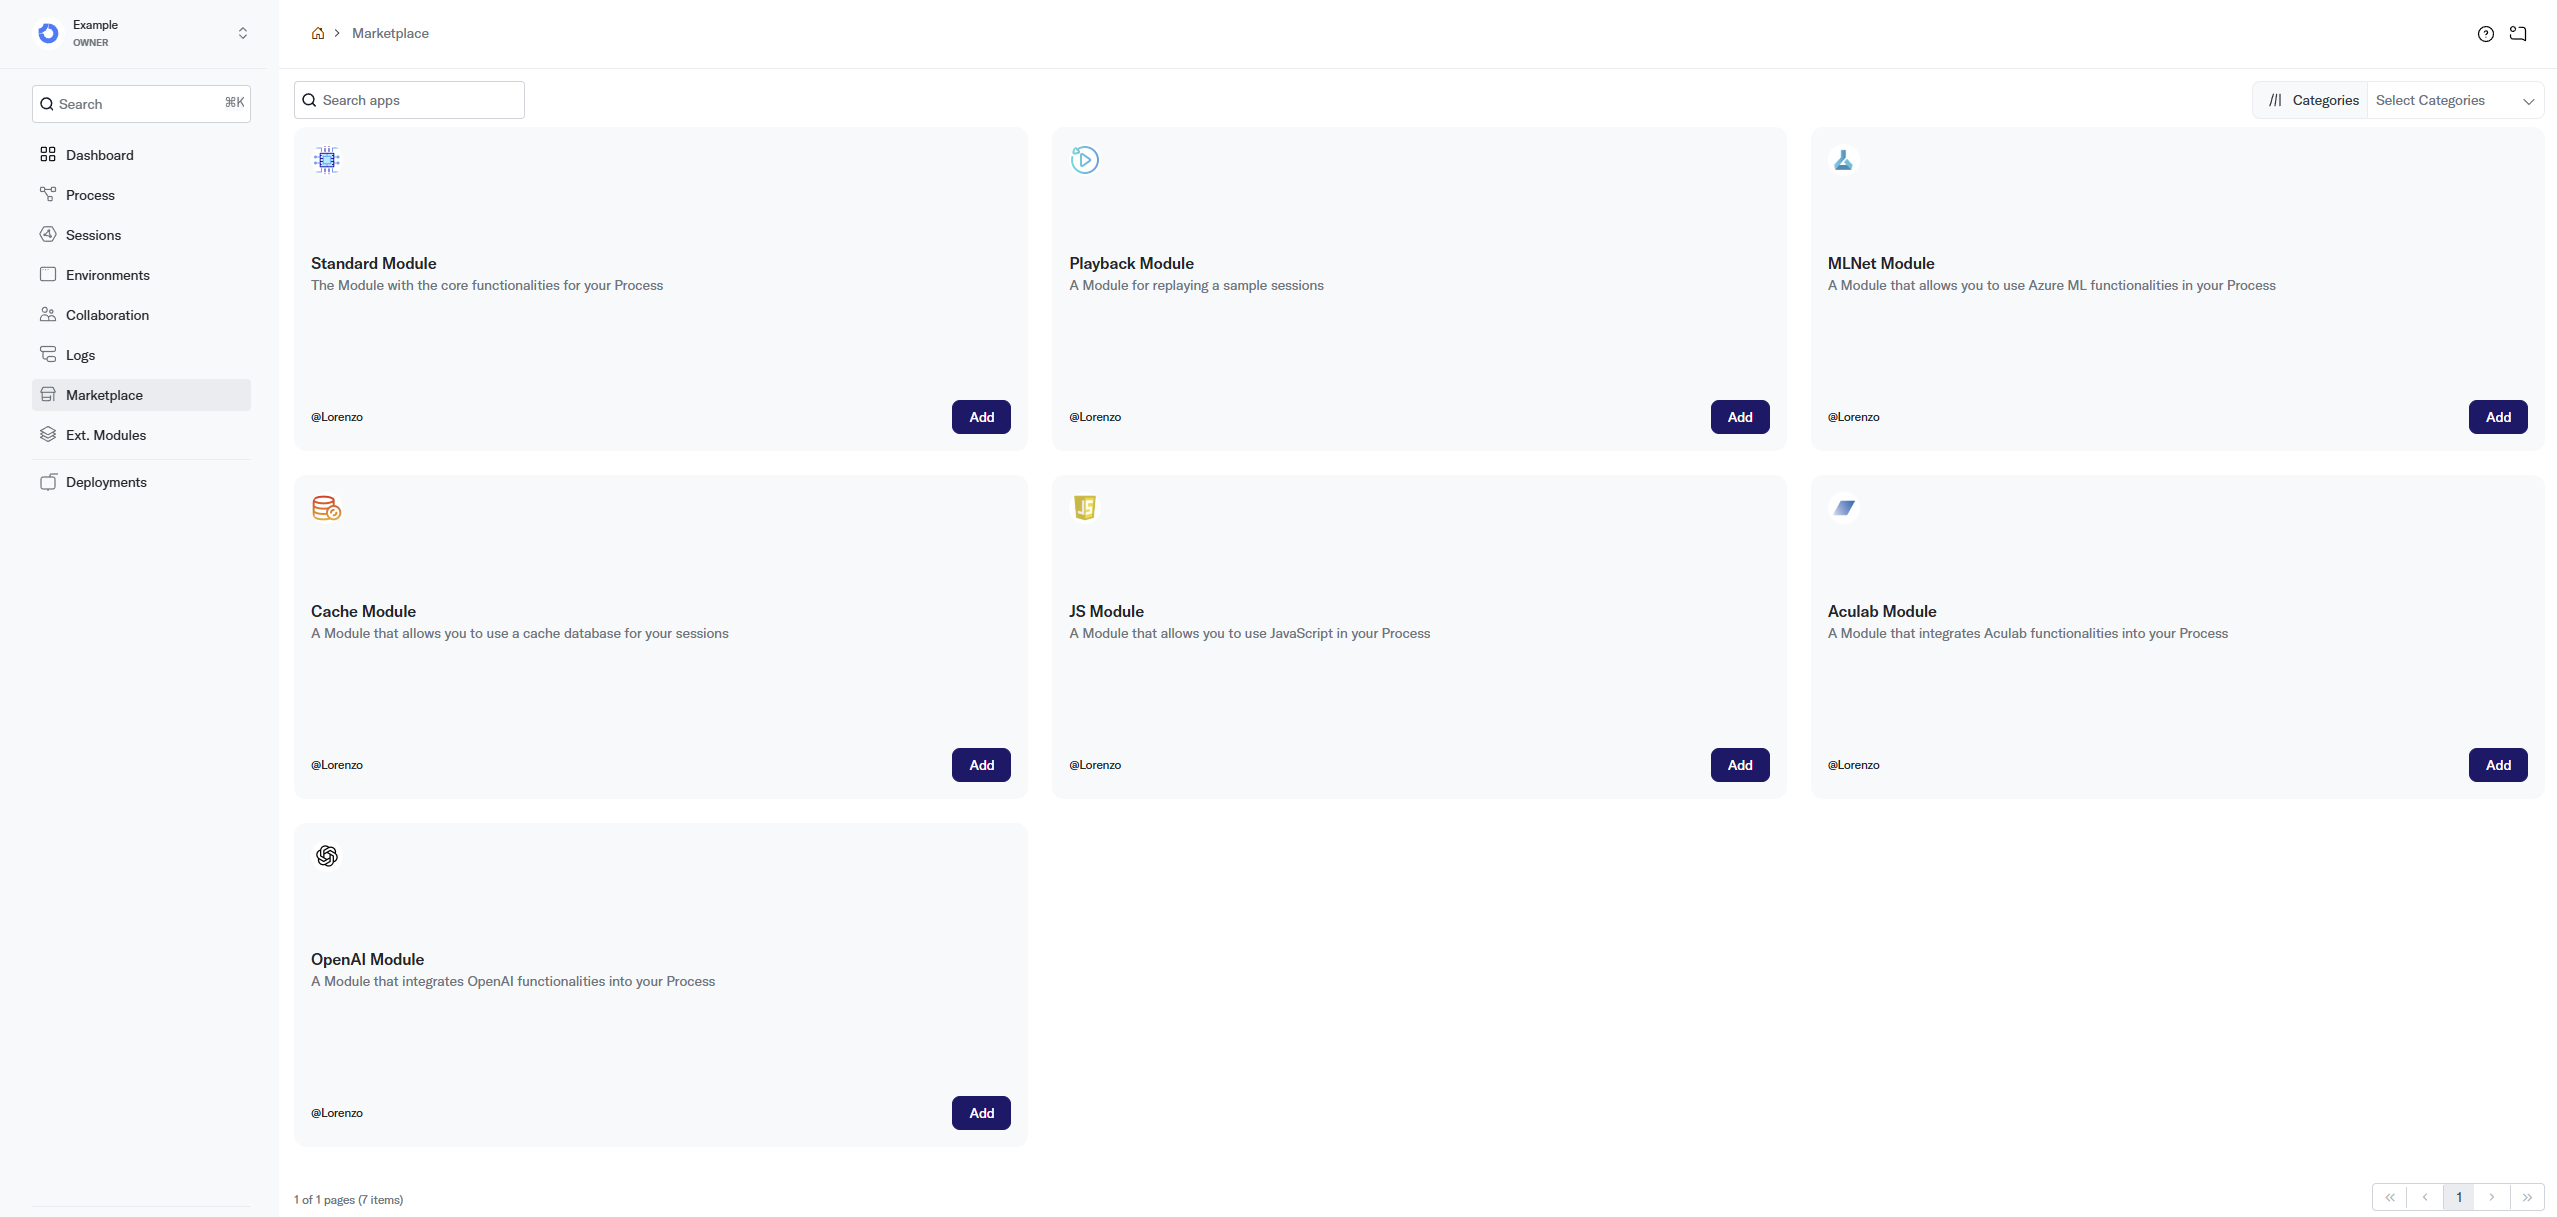
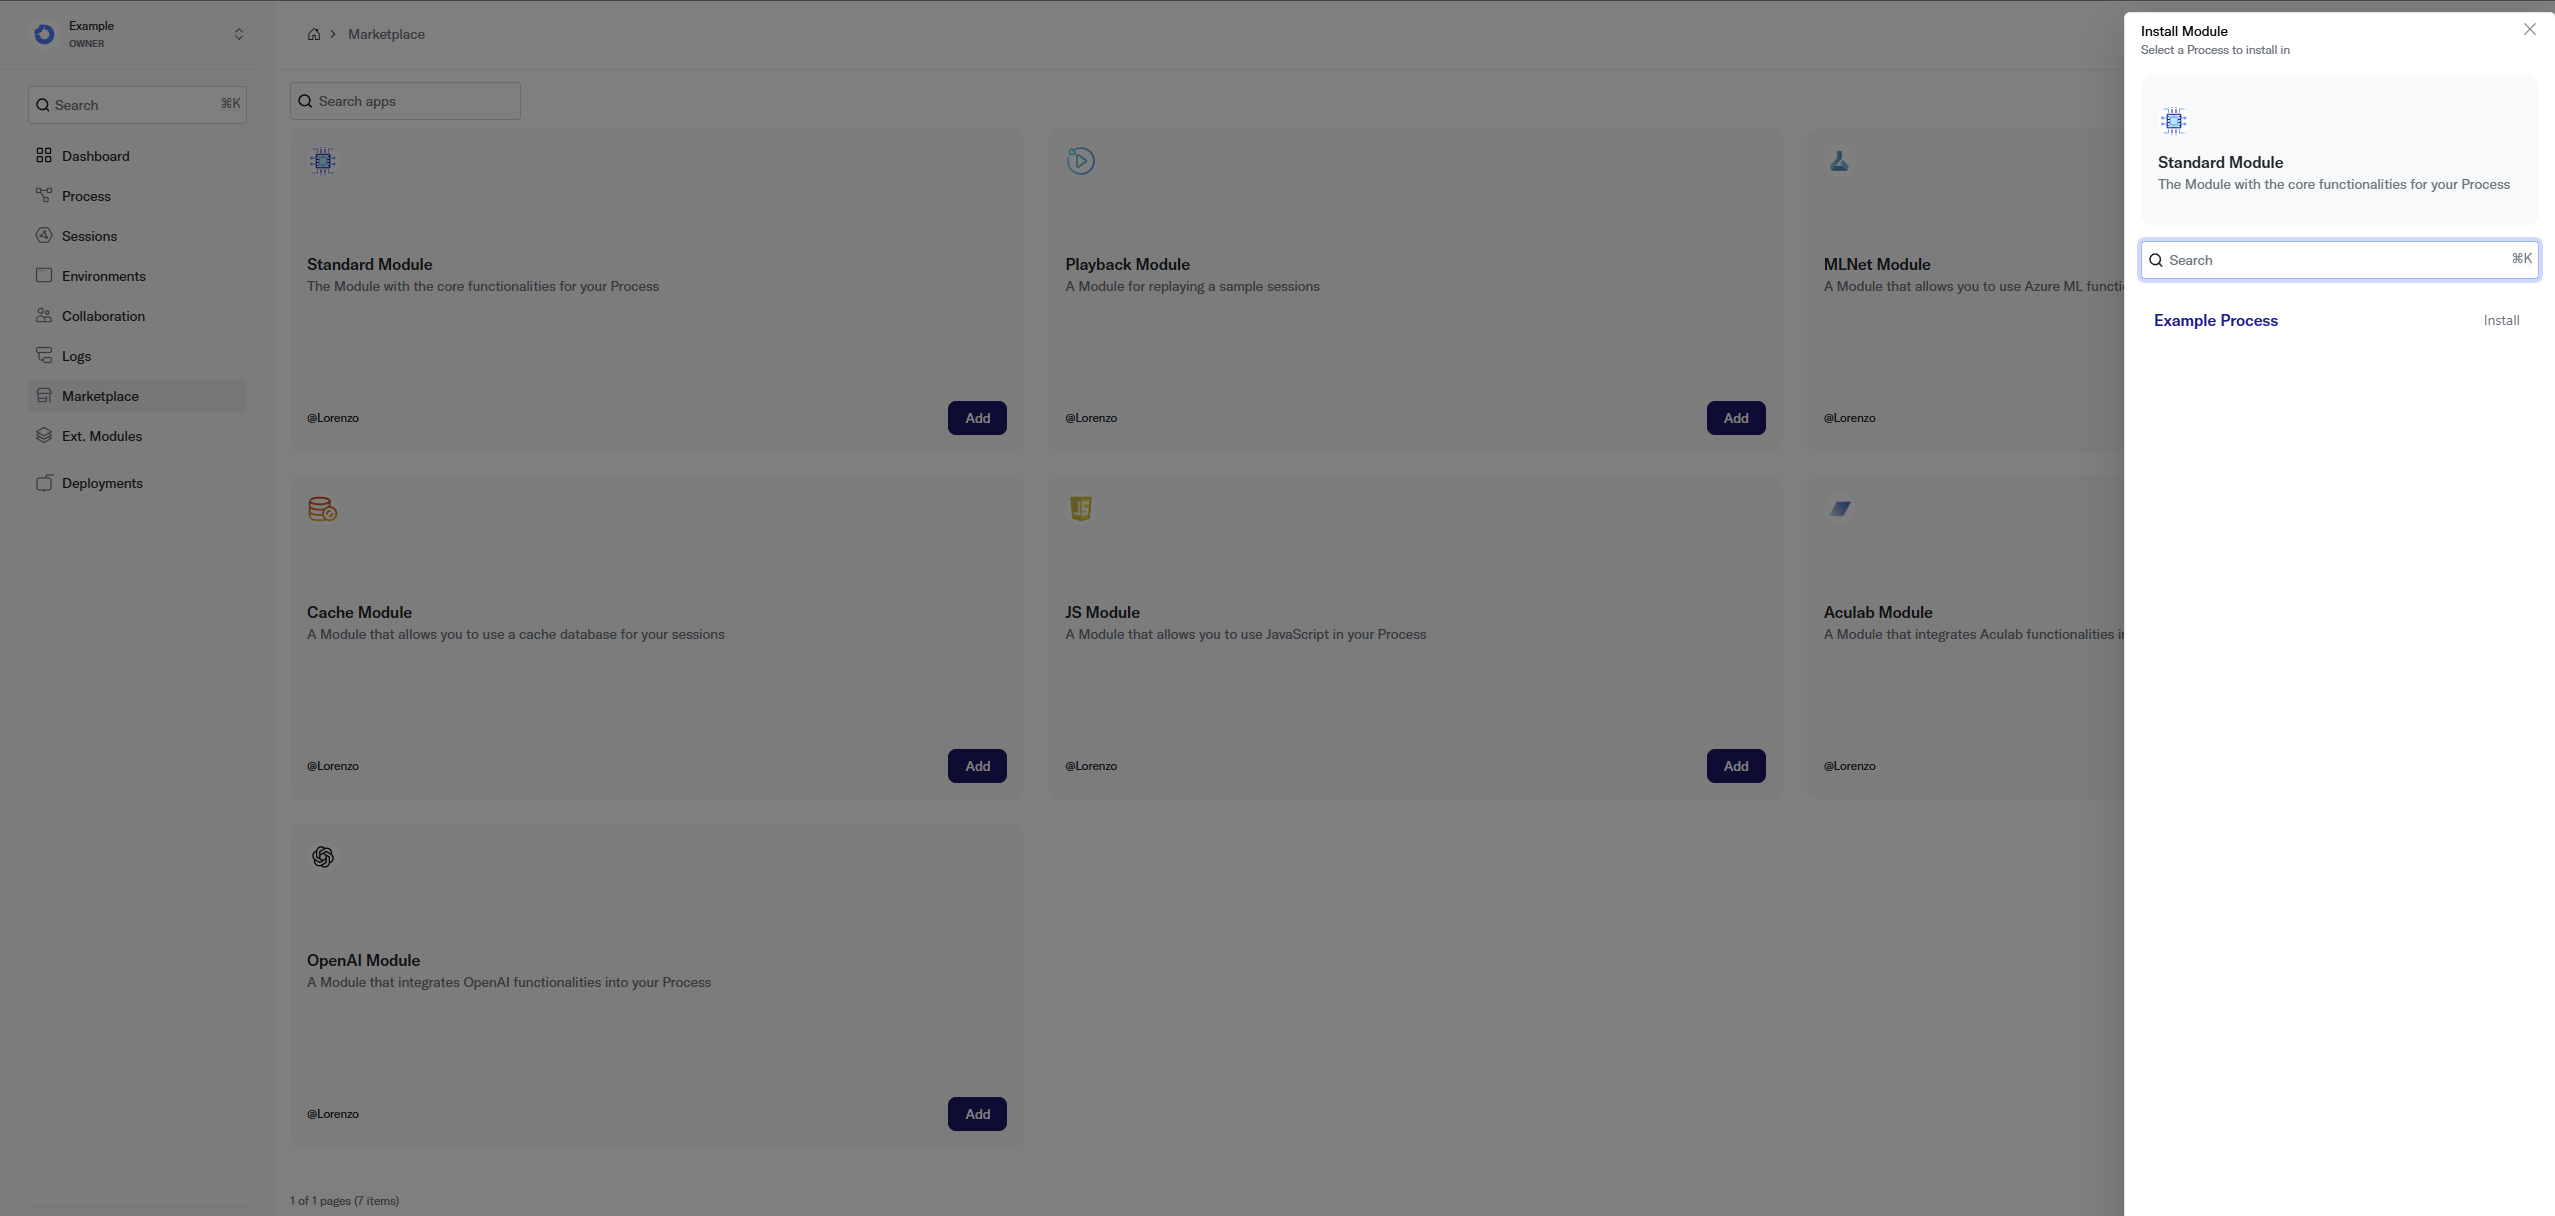
The default Process ships with some Modules already installed.
Configure the Environment
If a Module requires configuration (API keys, connection strings, etc.), set it up in the Environments page.
- Navigate to Environments from the sidebar.
- Select the Environment linked to your Process.
- Fill in the required configuration fields for each installed Module.
- Click Update to save.
The Environment page also displays the URL you use to connect your Process to external APIs and channels.
If your Process has multiple Environments, switch between them using the tab bar at the top of the configuration view.
Design your workflow
Open your Process in the BPMN editor and build the flow itself place nodes on the canvas, connect them with Sequence Flows, and configure each Task in the side panel. If this is your first time, follow the hands-on tutorial in Build Your First Workflow it takes you from an empty canvas to a working chat workflow in about 15 minutes. Once your diagram is ready, continue below to deploy it.
Channels
A Channel is the communication medium your Session runs on. When a user sends a chat message, the Session starts on the Chat Channel. When a phone call comes in, it starts on the AculabVoice Channel.
Your Process diagram is channel-independent the same workflow can serve chat users, voice callers, and Slack messages. At each Task node, the engine automatically picks the right implementation for the active Channel. If a Task has no channel-specific behavior (e.g., a Switch or a database lookup), it runs its generic logic regardless of Channel.
Deploy your Process
Once your workflow is ready, deploy it so the engine can execute it.
- Open your Process in the BPMN editor.
- Click Deploy in the top-right toolbar to publish to the selected Environment.
- Click Chat to open the test chat panel and interact with your deployed workflow.
The Save button creates a new version without deploying. To see your changes in a running workflow, you must deploy that version.
Neither Save nor Deploy is available unless you have made at least one change to the workflow even moving a Node counts.
Invite collaborators
If other people need to work on your Processes, invite them from the Collaboration page.
- Navigate to Collaboration from the sidebar.
- Click Add Collaborator.
- Enter the collaborator's email and assign a Role.
- Send the invitation.
The number of collaborators allowed depends on your Service Plan. See the Pricing page for details.
Next steps
- Dashboard view metrics and usage statistics for your Workspace.
- Process learn about Process management, versions, and deployments.
- BPMN Editor design your workflow visually.
- Marketplace browse all available Modules.